Geomat 3D Armour Erosion Control
Geomat erosion control
⇄ View all grass seeds mixtures
Erosion geomat three layers + erosion seed mat solution
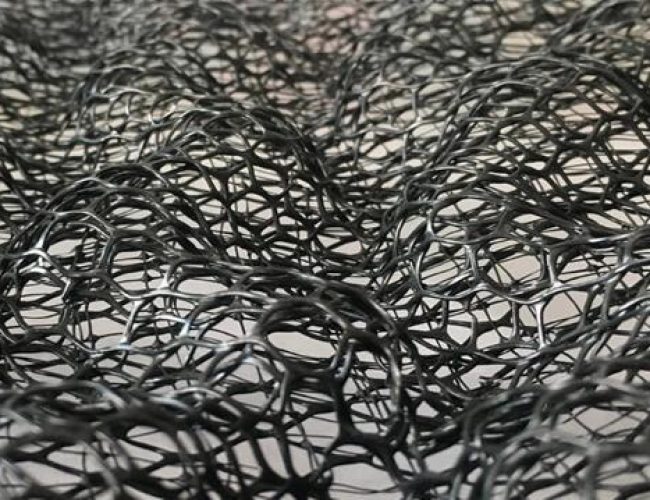
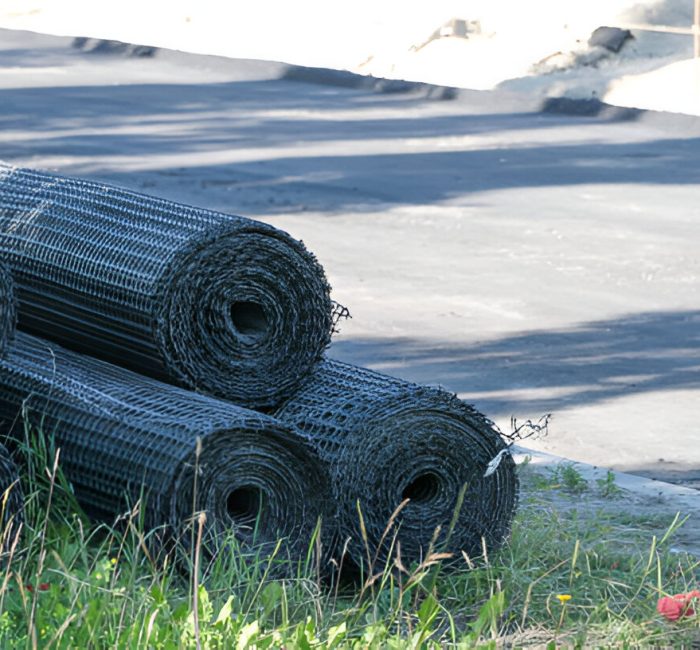
Geomat is a synthetic product shaped as a waterproof three dimension erosion controlling carpet. This carpet will strengthen the subsoil ‘s endurability, to avoid landslide and erosion potential. It is made of geosynthetic material, like a polymer fiber, it’s handy to overcome technical challenges in constructions and infrastructure’s maintenance.
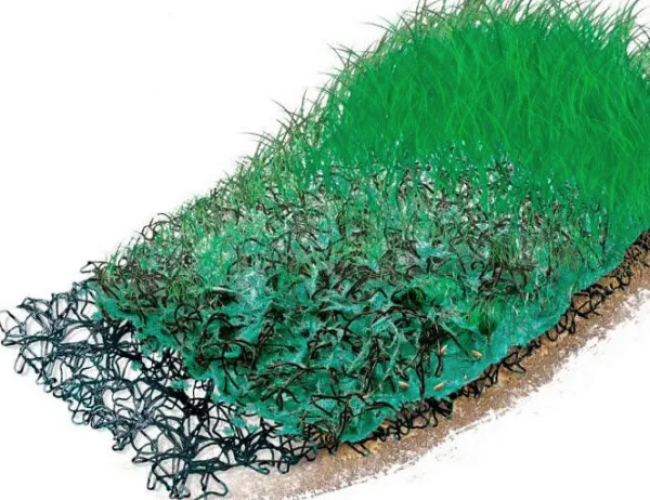
Three dimensional structures in Geomat are useful to protect the soil’s surface and plants’ root sprout can still grow without being disturbed. To enforce the slope’s strength, Geomat installation has to be accompanied with Geoscience and Geotextile. All those substances can be applied easily without special equipment or expert workers.
Geomat’s main functions are to stabilise the soil, controlling the erosion, linear protection, environment recovery as well as construction projects’ special application. For example, fireproof Geomat is used in fire risk protection projects, while permeable Geomat is used for sustained drainage.
Key features
- Can be used as an erosion control mat
- As a protection for slope´s entrenchment and stack
- As a protection for the soil´s surface reinforcing it using Geosynthetic
- Can be used as a restoration for eroded vegetation
- Can be applied to prevent slope´s damaged by erosions, landslide and etiolation
Choosing criteria:
For various 3D geomat to choose, you might consider the type of climate in which a project is situated, local weather conditions, exposure to wind, rain, hydraulic loadings or sun, soil type, and the incline and shape of the slope.
Benefits of geomat + fabric planting textile
- Before vegetation starts develop, our 3D geomat provides protection firstly
- The voids of over 90% encouraging the system developing and planting growing
- Our 3D geomat could be a polyamide mat, it is of light weight and high flexibility. Compared with PE and PP mat, PA mat doesn’t float in water. Therefore, it is easy to handle and install both in dry and wet conditions
- The material is not attractive to rodents and bacteria
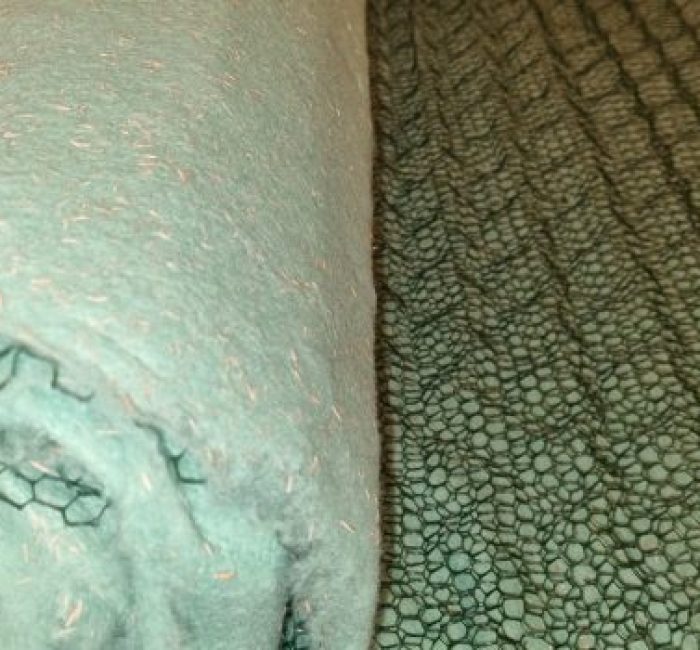
- The geotextile fabric is thermally bonded to the core of 3D geomat ensuring filtration, separation and protection of core from damage, protect the fill from being washed out by heavy water
- Hexagonal wire mesh and geogrid reinforced 3D geomat make an integral mat, significantly increase the tensile strength, and adjacent panels of reinforced 3D geomat doesn’t need to be overlapped, therefore its also more material saving than unreinforced erosion control mats
- 3D geomat accepts hydroseeding and shrub planting where more rapid colonization is required
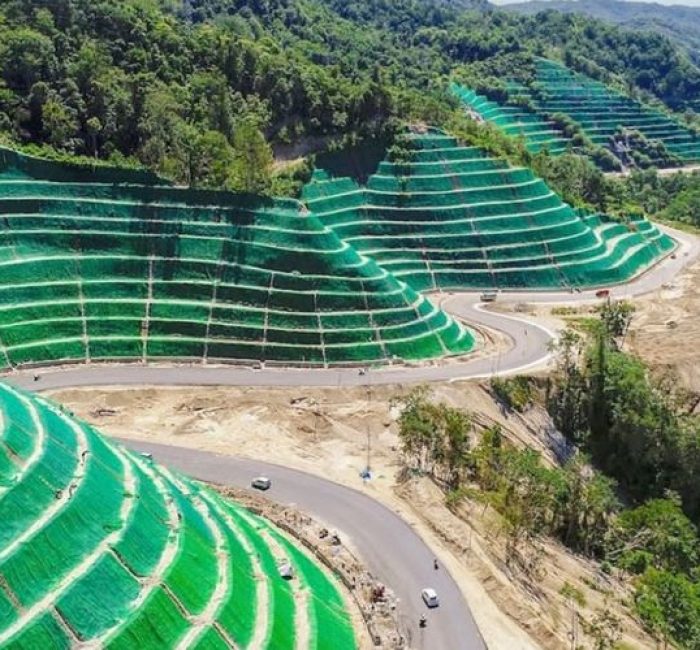
Erosion of soil from slopes, embankments and channels easily results in damage or pollution. Naturally growing vegetation alone cannot prevent erosion or offer long-term and full-scale reliability for its limited retention qualities. When there is a high risk of erosion, grass and other vegetation will be ruled out. But with the help of 3D geomat, vegetation can withstand these risks that are generally caused by wind and rain and thus changed into stable and fully grown green surfaces.
Geomat Armour is three dimensional polymer mat made of entangled UV stabilized polyamide or polypropylene monofilaments fused together at their intersections. In general, our clients choose black 3D geomat because it provides thermal protection and holds water for plantings’ germination; choose green 3D geomat because it accommodates with green vegetated surface. It initially stabilize soil or rocky surface before vegetation developing; then it assists plantings to establish and stabilize the root system. Thus, we say that 3D geomat provides help both before and after vegetation.
Application:
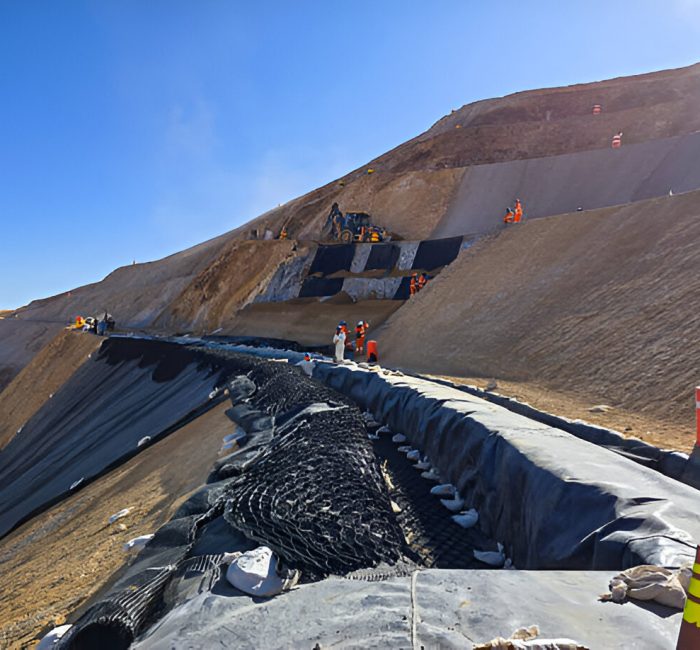
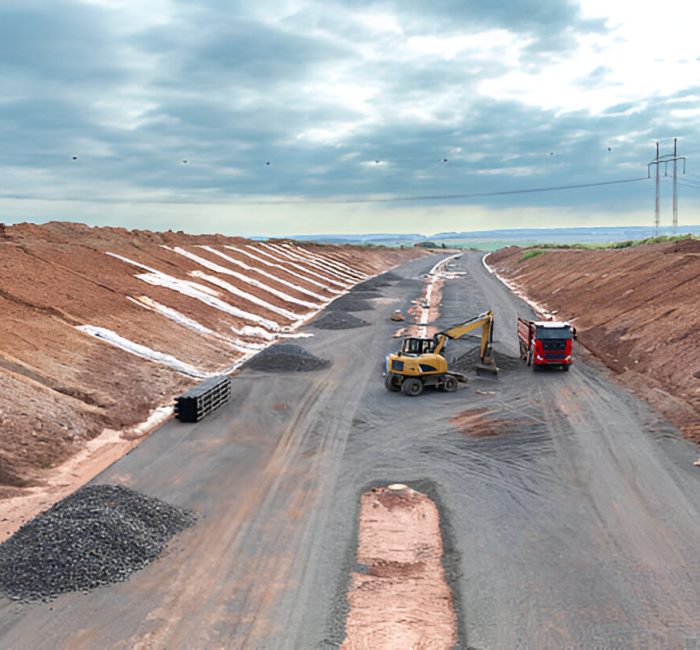
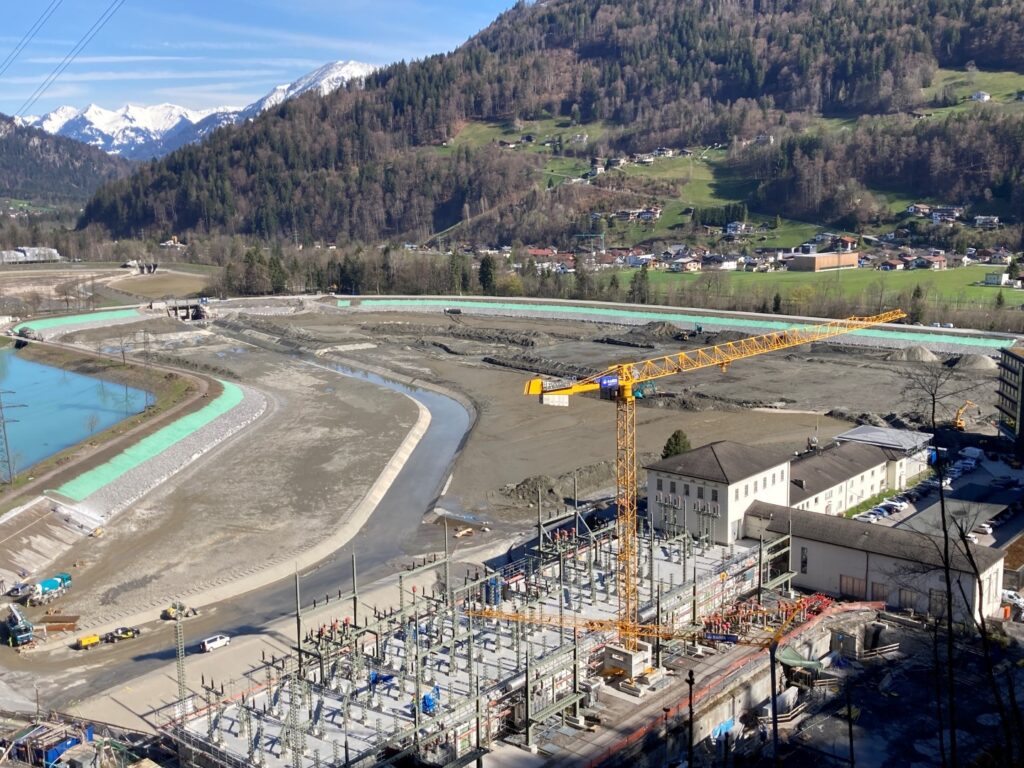
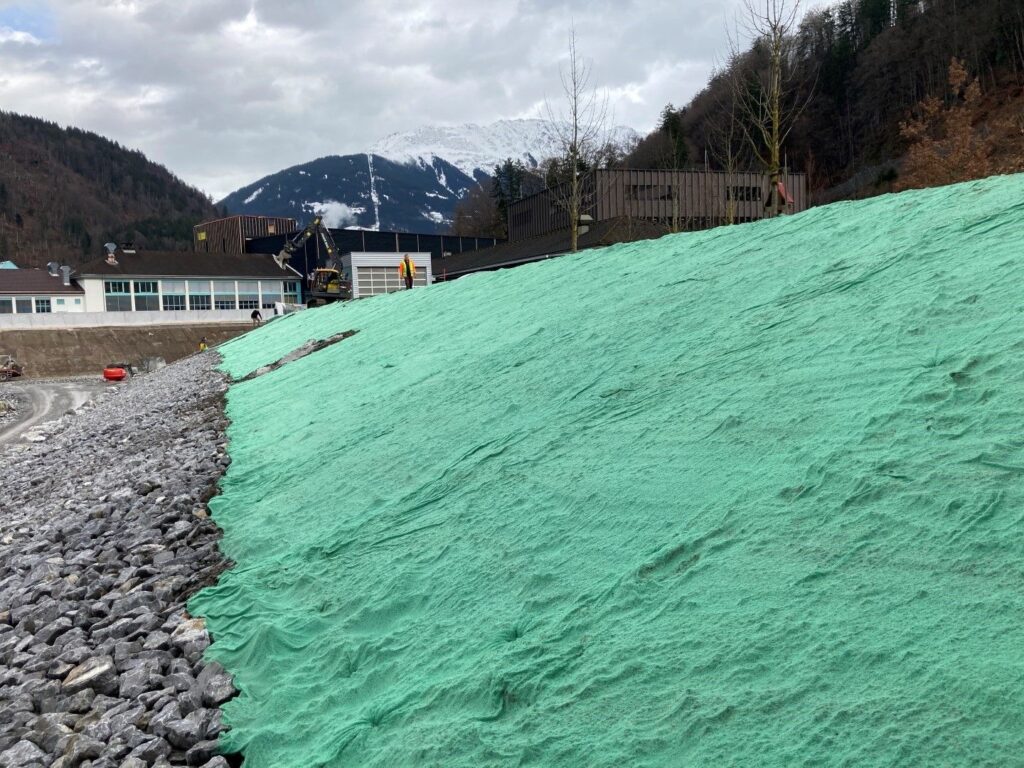
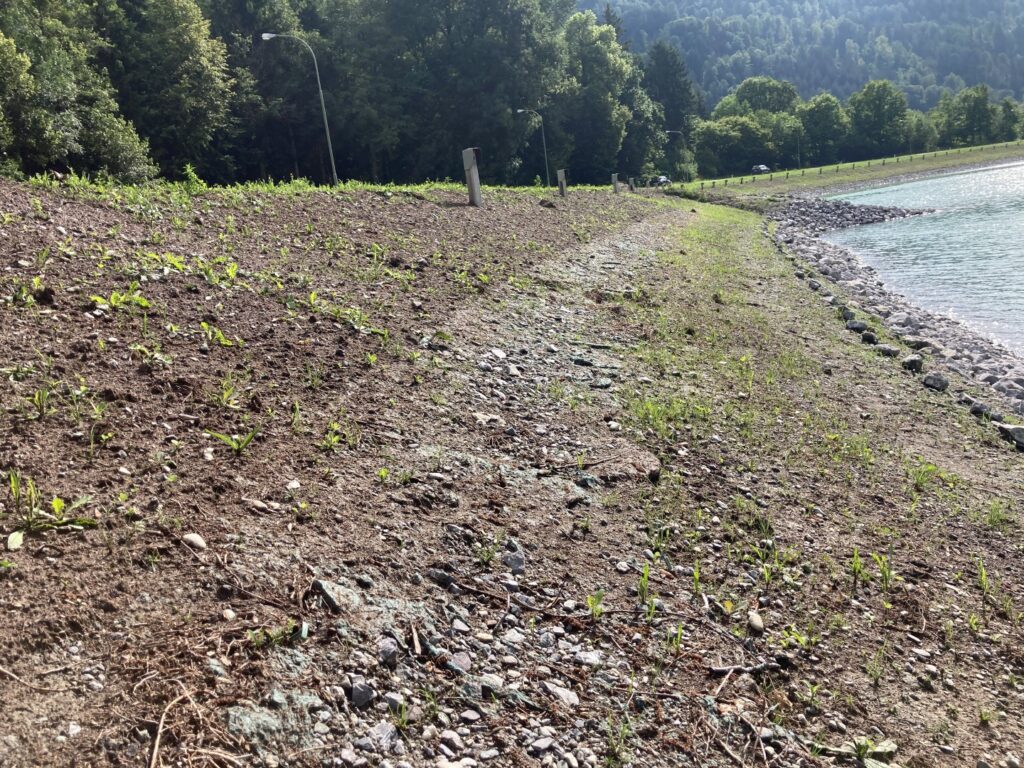
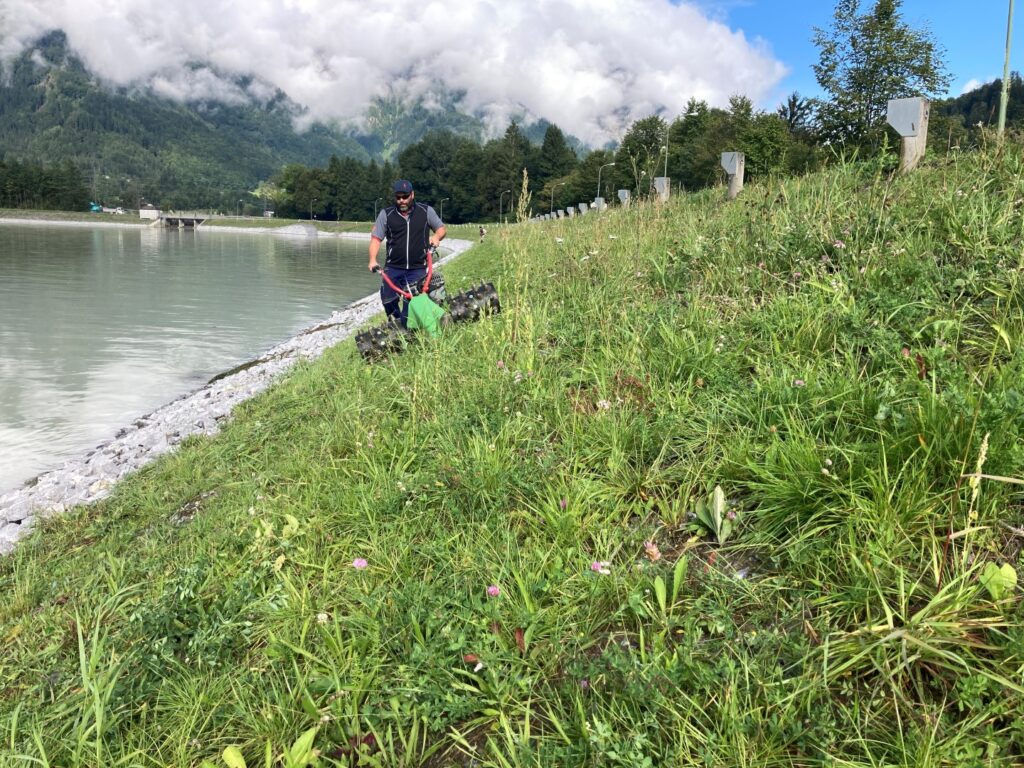
Geomat 3D Armour is suitable at, below and above the water level or on dry slopes like the waterline of channels, rivers lakes, spillways and rocky, soil steep slopes.
Strong durability to ensure your materials are pinned down securely PROPERLY DESIGN – Anchoring heads pierce the affixed textile and hinder the sliding out of the peg from the ground.
Biodegradable stakes
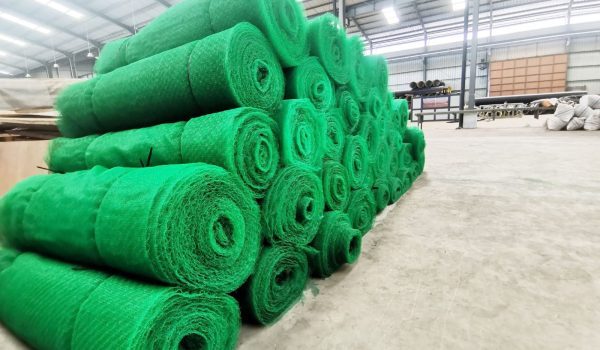
Packaging solution for the geomat + seed mat roll
Technical specifications
Product name:
Geomat 3d Armour for slope protection
EAN CODE
7350 00309 1080
Material and contents per m2
Specification
Net weight:
approx. 40 grams per m2
Organic fertiliser:
approx. 8 grams per m2
Grass seed mixes:
approx. 32 grams per m2
Cellulose fiber:
approx. 80 grams per m2
Area:
approx. 32 grams per m2
MOQ
2 pcs 1 EUR-pallet. (120 cm x 80 cm x 215 cm)
Roll Dimensions:
2m x 30 m = 60 m2
Attribute:
Geomat Erosion control
Net weight:
21 kg
Download the data sheet in PDF format
Construction process
Geomat helps to stabilize soil and develops planting root system
Ground cleaning
Clean the ground surface of the site.
Geomat laying
Cut the Geomat 3D armour to the required size and lay on the target slope.
Geomat anchoring
Overlap the geomat as specified on the design drawing and anchor it.
Slope vegetation and final result
With the help of 3D geomat, slope vegetation has completed.
Installing geomat on a slope involves several key steps to ensure proper stabilization, erosion control, and vegetation growth. Here’s a step-by-step guide:
Materials Needed:
- Geomat (erosion control mat)
- Landscaping stakes or pins
- Shovel or garden hoe
- Rake
- Scissors or utility knife
- Topsoil or seed mix (if required)
- Watering equipment (optional)
Step-by-Step Installation:
1. Site preparation
- Clear the Area: Remove any debris, rocks, or vegetation from the slope. Ensure the surface is smooth and free of large clumps of soil.
- Grade the Slope: Use a shovel or rake to grade the slope, making it as even as possible. This helps the geomat to lay flat against the soil.
2. Soil Preparation:
- Optional Seeding: If you plan to seed the area for vegetation growth, evenly distribute seeds across the slope before laying the geomat. Lightly rake the soil to cover the seeds.
- Topsoil Application: Apply a thin layer of topsoil over the slope to create a stable base for the geomat. This helps improve soil contact and seed germination.
3. Cutting the Geomat:
- Unroll the geomat along the slope. Use scissors or a utility knife to cut the mat to the desired length. Ensure that each section overlaps the previous one by at least 6 inches (15 cm).
4. Laying the Geomat:
- Starting at the Top: Begin laying the geomat from the top of the slope, working your way down. This prevents the mat from sliding down as you install it.
- Overlap Edges: Overlap adjacent geomat sections by at least 6 inches to prevent gaps. This is crucial for maintaining continuous coverage.
- Tight Fit: Lay the geomat so that it conforms tightly to the contours of the slope. This ensures effective contact with the soil and reduces the chance of erosion.
5. Securing the Geomat:
- Staking: Use landscaping stakes or pins to secure the geomat in place. Start at the top and place stakes every 1-2 feet (30-60 cm) along the edges and down the middle of the mat. For steeper slopes, use more stakes for added security.
- Check for Movement: Ensure the geomat is securely anchored and that there is no movement or lifting. Adjust the stakes as necessary.
6. Final Adjustments:
- Trim Excess Material: Trim any excess geomat material that extends beyond the slope. Ensure that the mat ends are securely pinned down.
- Check for Gaps: Inspect the entire slope for any gaps or loose areas. Add more stakes or overlap the geomat sections if needed.
7. Watering (Optional):
- If you seeded the slope before laying the geomat, gently water the area to encourage seed germination. Ensure that water does not displace the geomat.
8. Regular Maintenance:
- Inspect Regularly: After installation, regularly check the slope for any signs of erosion or geomat movement. Re-secure the mat as needed.
- Vegetation Growth: Monitor vegetation growth. The geomat will gradually degrade as plants establish, helping to stabilize the slope long-term.
By following these steps, you can effectively install a geomat on a slope, providing erosion control and creating an environment conducive to vegetation growth.