Repair Your Lawn with Seed Mat – Simple and Effective
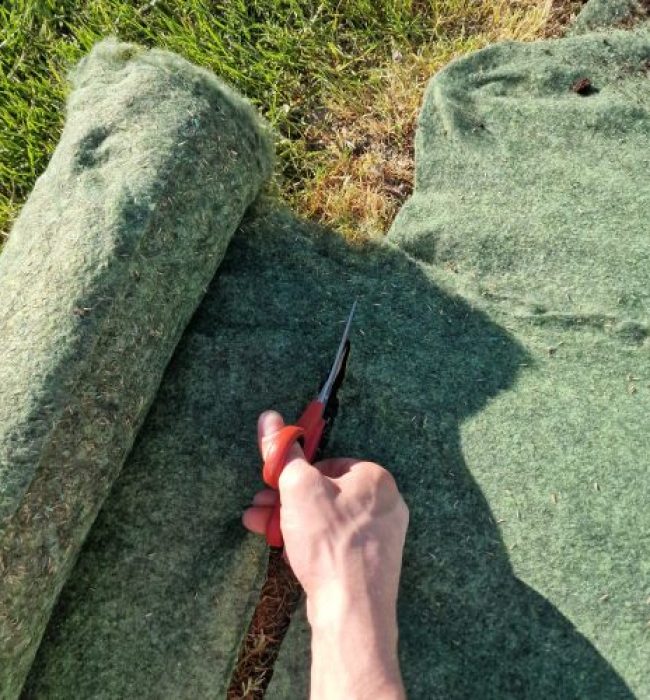
What is a seed mat?
The Basics of Lawn Care: The 4 Essential Elements for a Perfect Lawn
To achieve a dense, green, and long-lasting lawn, four essential elements must be in perfect balance:
☀️ Sunlight | 💨 Air | 💧 Water | 🌱 Nutrients
🔧 How to Repair Your Lawn with a Seed Mat – Step by Step
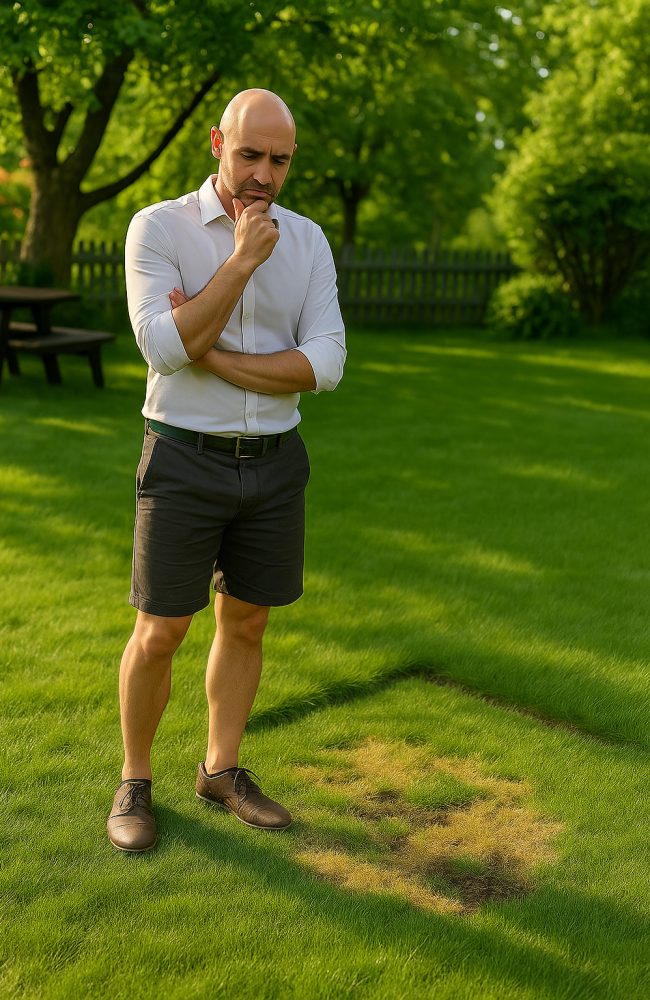
1. Inspect the surface
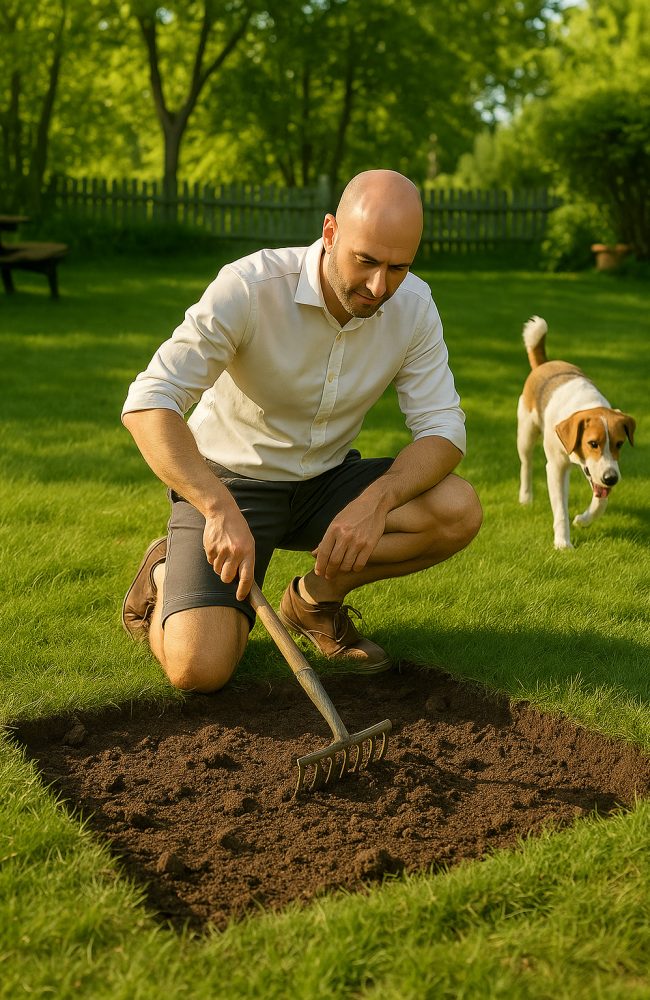
2. Remove 10 cm of soil
Carefully remove the top layer (about 10 cm) where the grass is dead or the soil is compacted/damaged.
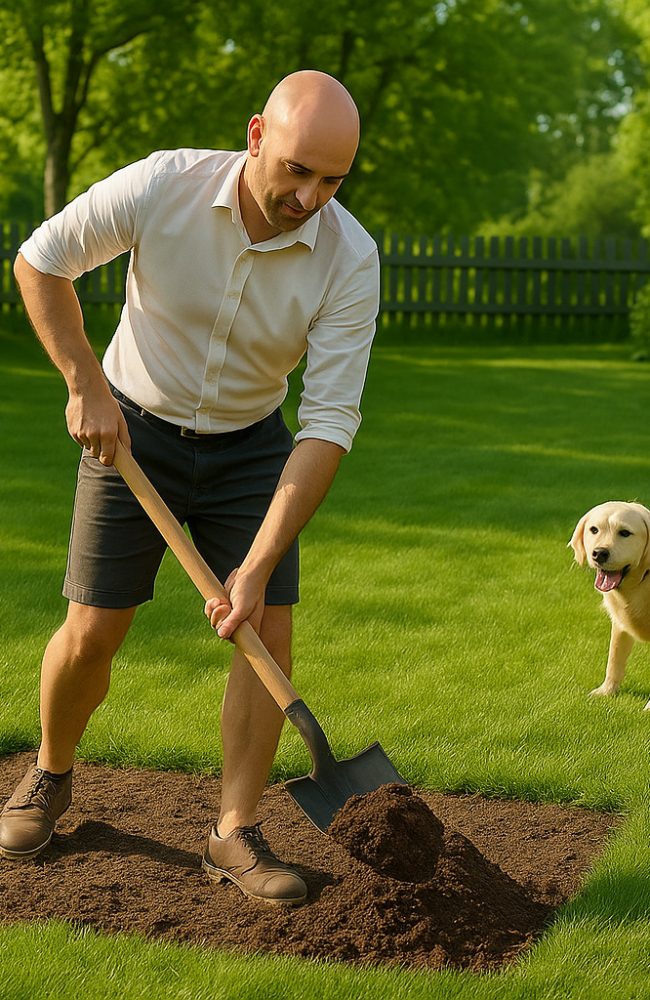
3. Add a layer of fresh soil
Add a layer of fresh, nutrient-rich soil (5–10 cm). Use light, airy soil that retains moisture and provides good contact for the seeds.
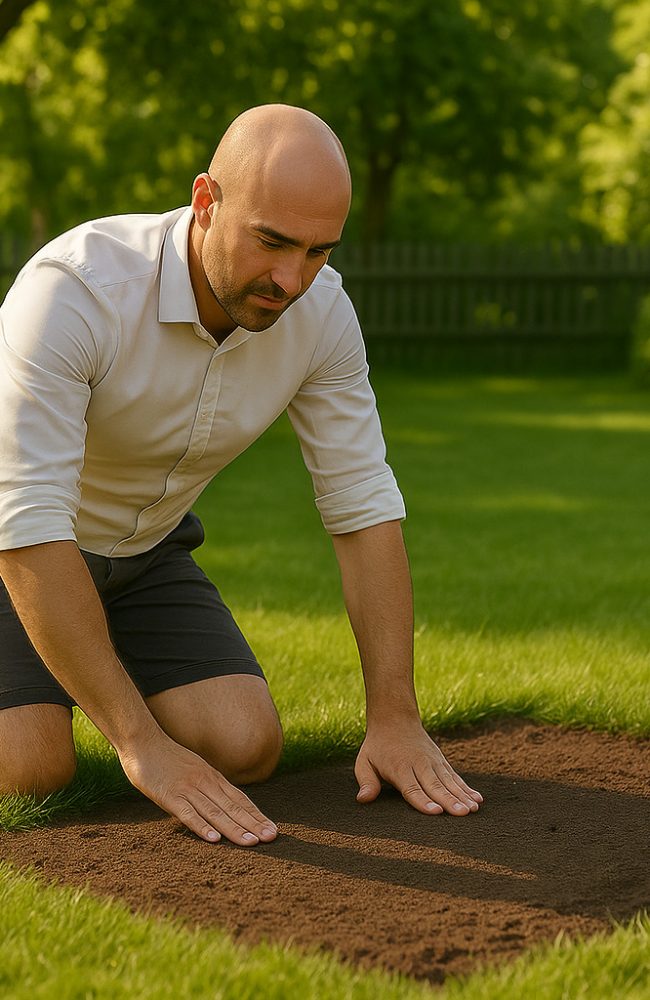
4. Level and compact the soil
Level and compact the soil, gently packing it to create a stable base for the seed blanket.
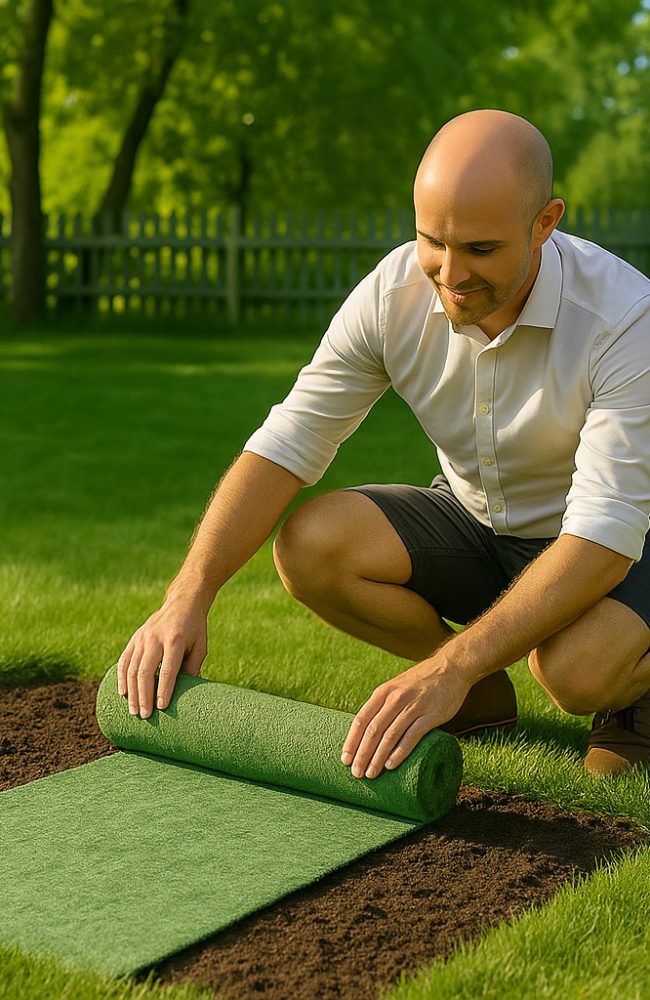
5. Roll out the seed blanket
Roll out the seed blanket, placing it over the prepared surface and ensuring it lies flat against the ground.
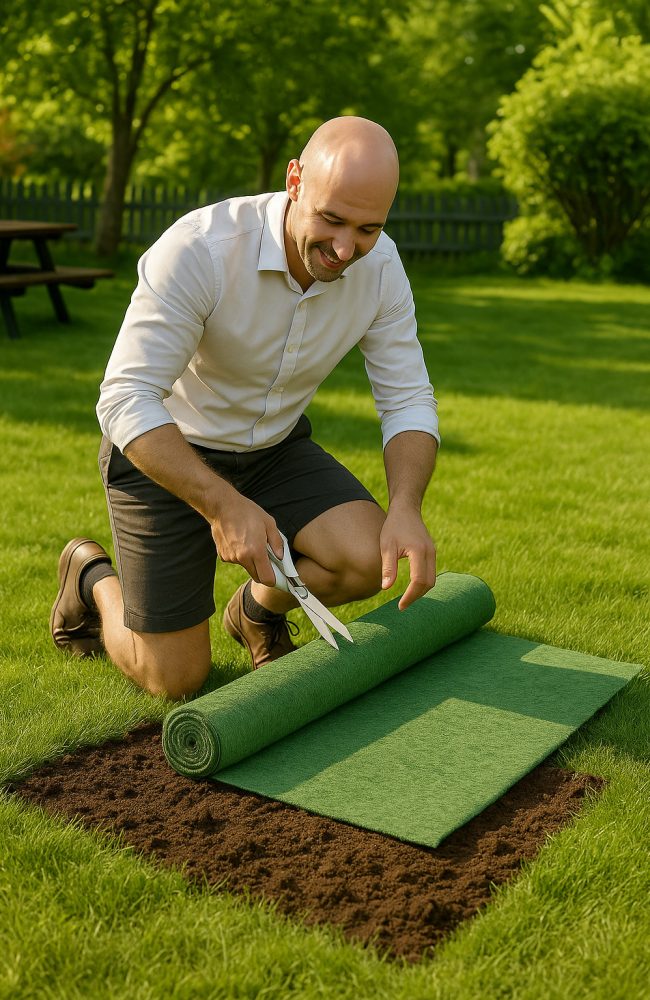
6. Shape and Adjust
Shape and adjust, trimming the seed blanket to fit the shape of the area – use scissors or a knife.
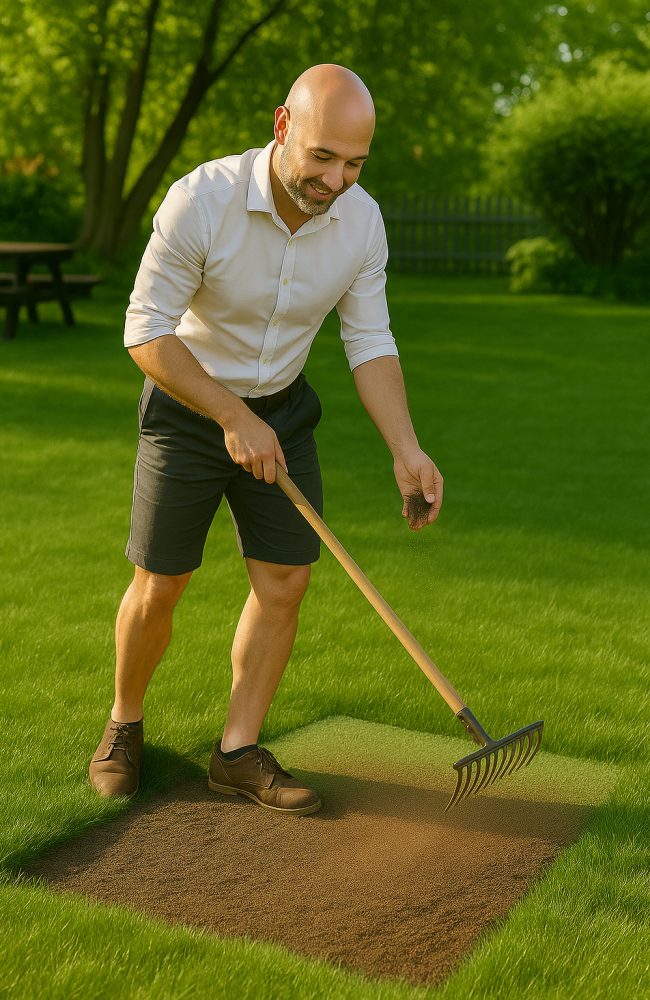
7. Cover lightly with soil
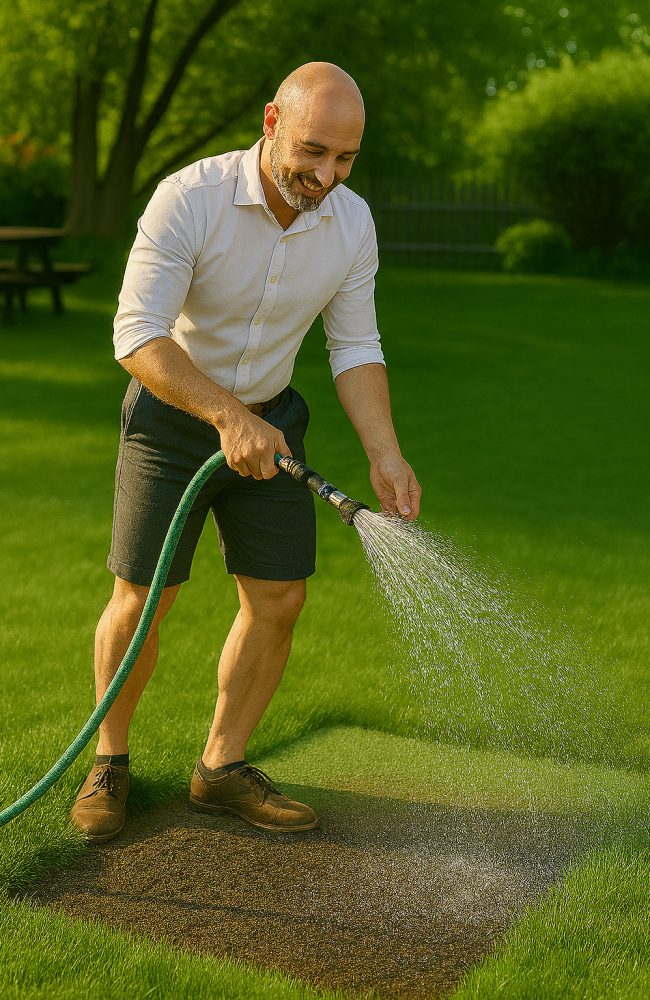
8. Water every day
Water every day, keeping the surface moist by watering daily until the grass is established (about 2–3 weeks)
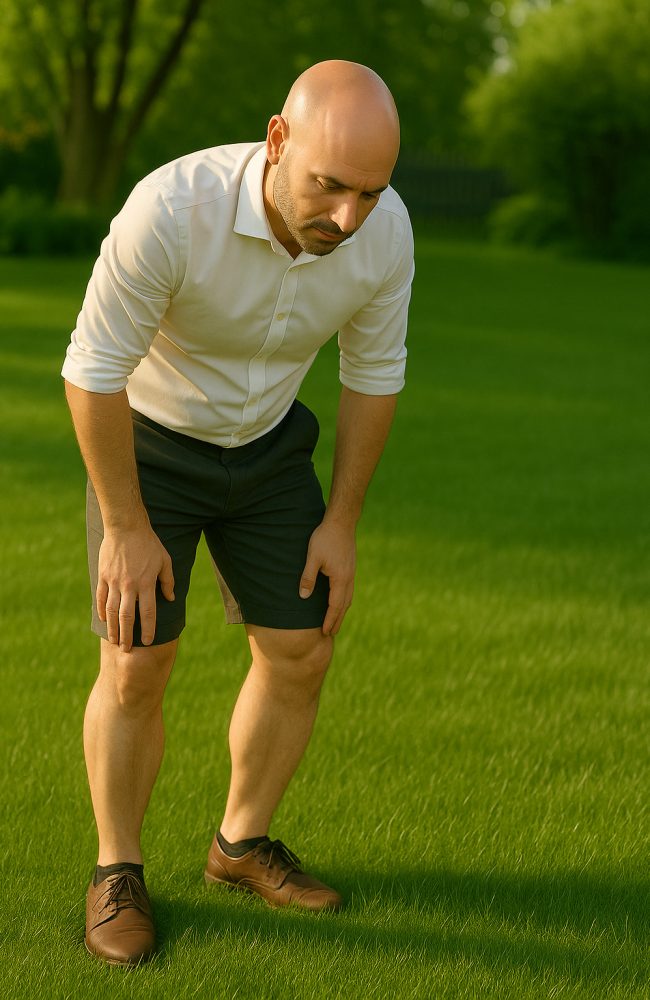
9. Watch it grow
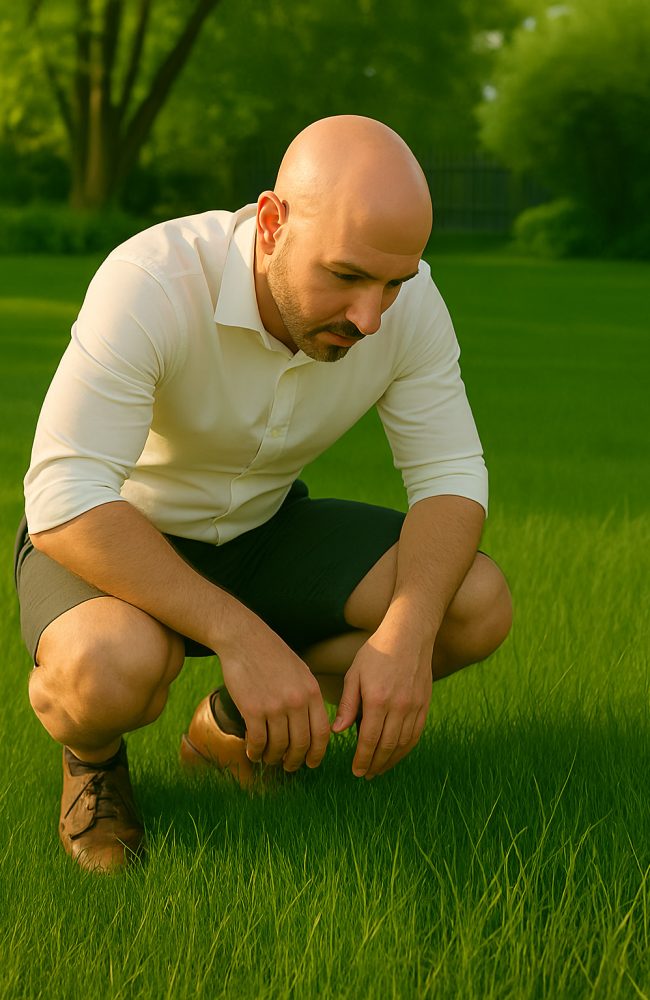
10. Once the grass is established
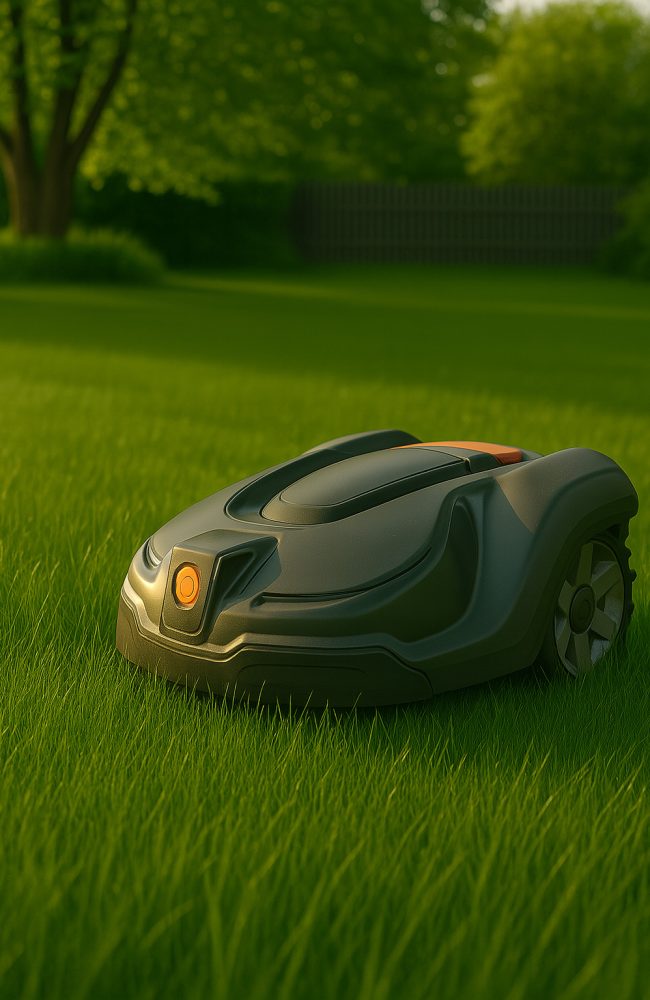
11. Maintenance of a new lawn
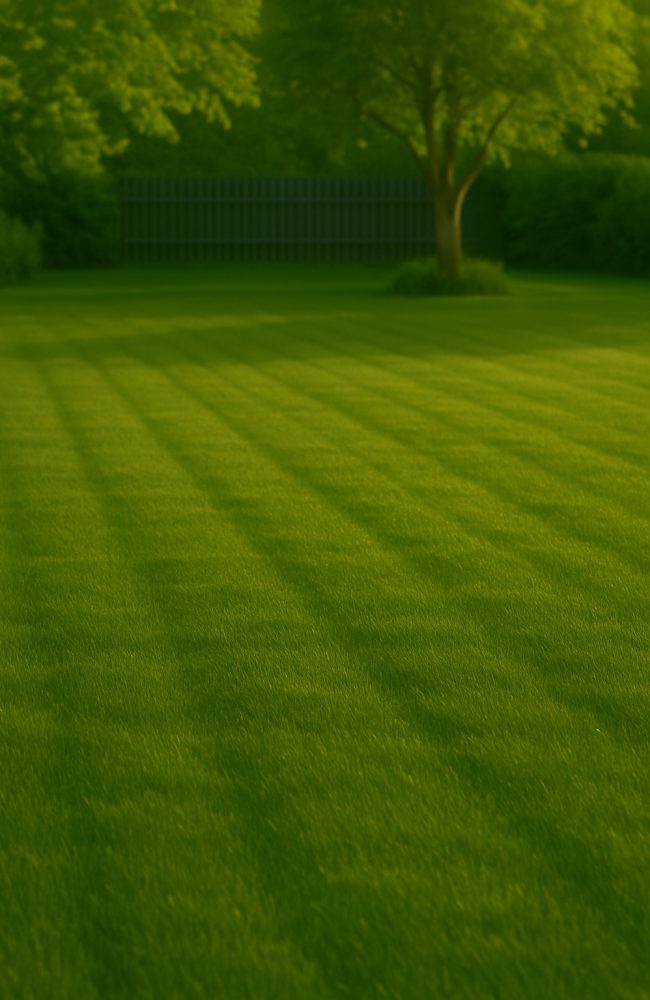
12. Lush and ready
✅ Extra Tips for Best Results
✔ Water regularly
✔ Avoid walking on the mat:
For the first 2–3 weeks, the seeds are fragile. Do not walk on the area until the grass has rooted properly.
✔ Keep moisture consistent:
✔ Avoid fertilizing in the beginning:
✔ Adjust for slopes:

💡 Benefits of Using Seed Mats for Lawn Repair
- ✅ Quick and easy installation
- ✅ More even germination – no bare spots
- ✅ Protects seeds from birds, rain, and drying out
- ✅ Reduced risk of weeds
📦 When Is a Seed Mat the Best Choice?
- Garden pathways where the grass has worn down
- Bare patches caused by pets or winter damage
- Grass areas under play equipment
- Localized damage after construction or ground work
🌿 Tips for a Successful Result
- Use seed mats in spring or early autumn – when moisture and temperature are ideal.
- Combine with a thin layer of topdressing to even out the surface if needed.
- Avoid fertilizing until the grass is fully established.
